Adding DocuSign Fields to a Template
After you create a template from your data set, you can begin to map your DocuSign Fields. Once you open your template, you can add your DocuSign field and configure it to match your use case.
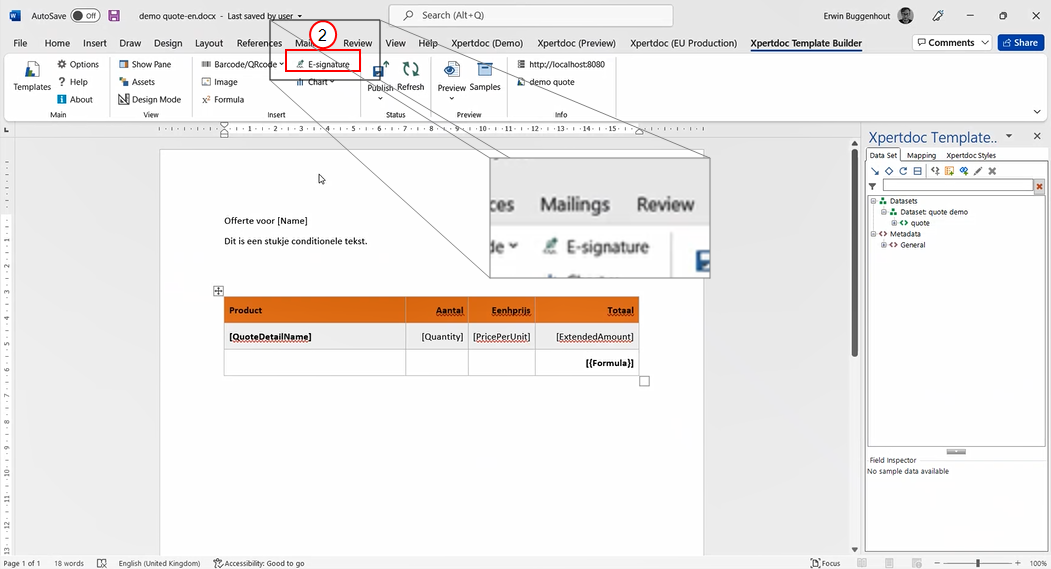
| 1. | In your template, place your cursor where you wish to add the signature block. |
| 2. | In the Template Builder tab, select the E-signature button. |
The blank E-signature field displays with the message " Select or tap here to configure."
The Mapping window displays.
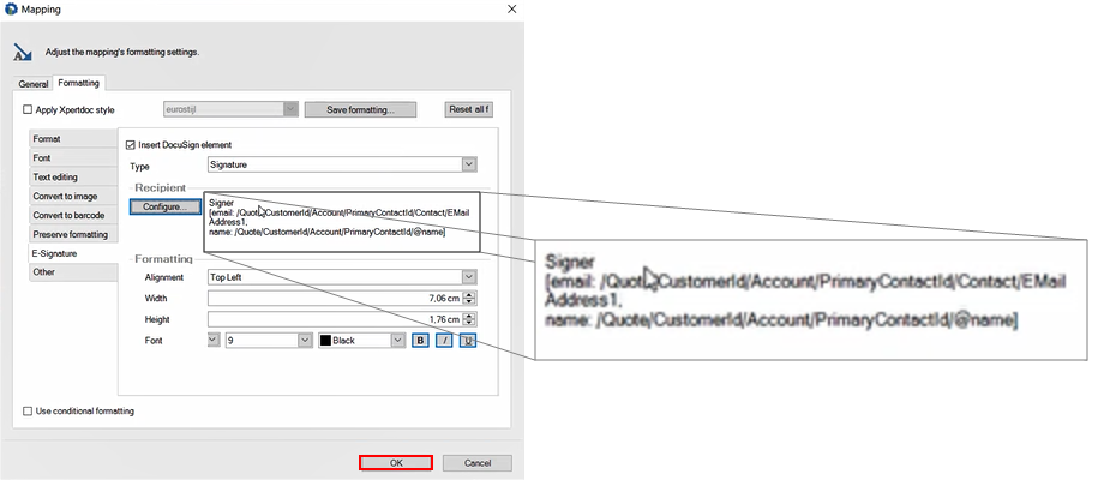
| 3. | In the Mapping window, select the Formatting tab. |
The Formatting window displays.
| 4. | In the list view, select the E-signature option. |
The Mapping window refreshes with the E-signature options in grayscale.
| 5. | Select the checkbox next to the Insert DocuSign element. |
The E-signature settings display in color and can be edited.
|
Field Name |
Function |
|---|---|
|
Signature |
The signer signs with their full name. The system requires this field in order to complete the signature procedure. |
|
Initial |
The signer signs with their initials. The system requires this field in order to complete the signature procedure. |
|
Optional signature |
The signer signs with their full name. The field will be optional for the signer. |
|
Optional initial |
The signer signs with their initials. The field will be optional for the signer. |
|
Date signed |
Fills with the date your signer added their signature. |
|
Signer full name |
Fills with your signer's full name in print. |
|
Signer first name |
Fills with your signer's first name in print. |
|
Signer last name |
Fills with your signer's last name in print. |
|
Signer e-mail address |
Fills with your signer's e-mail address. |
|
ID of the DocuSign envelope |
Inserts the Envelope ID |
| 6. | In the Type dropdown menu, select the type of field you wish to add. |
| 7. | Select the Configure button. |
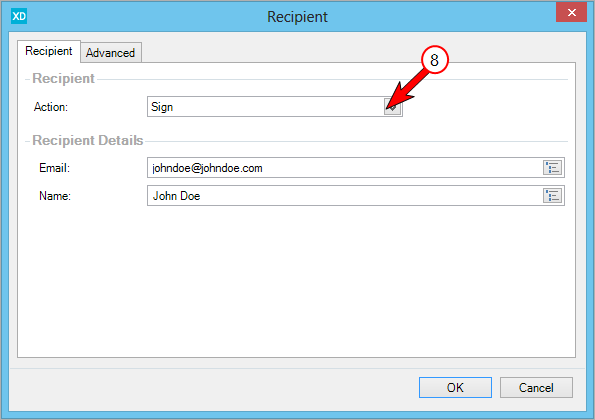
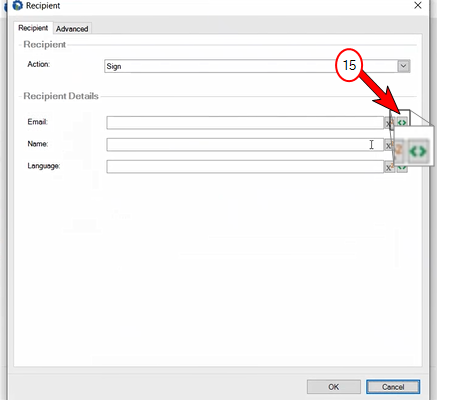
The Recipient window displays.

| 8. | In the Action dropdown menu, select Sign. |
| 9. | Determine how you want to fill your E-mail and Name fields |
| 9.1. | To fill in your E-mail and Name fields by typing them, continue to STEP 10 on . |
| 9.2. | To fill in your E-mail and Name fields with fields from your data set, skip to STEP 14 on . |
Configure Recipient field with Rich Text
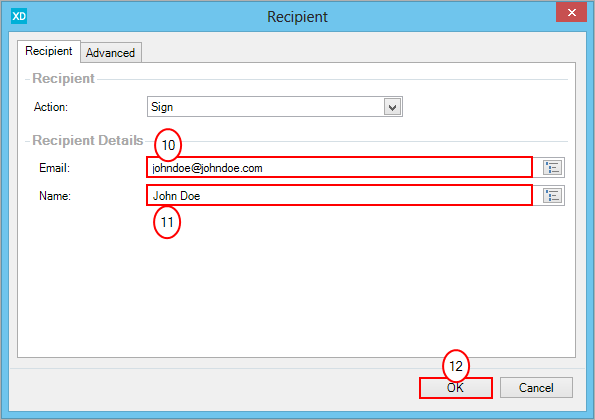
| 10. | In the E-mail field, type in the e-mail of your Recipient. |
| 11. | In the Name field, type in the name of your Recipient. |
| 12. | Select the OK button. |
The Recipient window no longer displays.
| 13. | Select the OK button. |
| 14. | In the Mapping field, select the OK button. |
The Mapping window no longer displays.
The E-signature field displays with E-signature above and within the field.

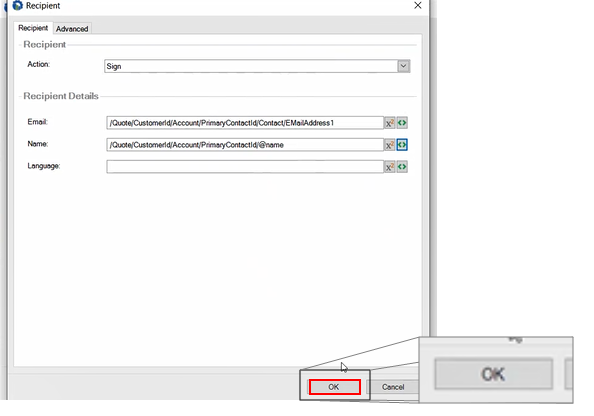
Configure Recipient field with mapped Data Set fields
| 16. | Use the scroll bar or the search field to locate your desired field from your data set. |
| 17. | Double-click your desired field. |
| 18. | Select the OK button. |
The Select Field window no longer displays.

| 19. | Repeat STEP 14 through STEP 17 for the Name field. |
| 20. | In the Recipient window, select the OK button. |
The Recipient window no longer displays.
In the Mapping window, your mapped data set info displays next to the Configure button.
| 21. | Select the OK button. |
The E-signature field displays with E-signature above and within the field.